Understanding Email Blacklists
Email blacklists are databases that track IP addresses and domains known for sending spam or malicious emails. When your sending infrastructure appears on a blacklist, email providers may block or filter your messages, severely impacting deliverability.
Important: Being blacklisted doesn't necessarily mean you're sending spam. Sometimes legitimate senders get listed due to compromised accounts, poor list hygiene, or even mistaken identity.
This guide walks you through the complete process of identifying blacklist issues, addressing the root causes, and successfully removing your IP or domain from major blacklists.
Step 1: Immediate Actions (First 24 Hours)
Stop All Email Sending Immediately
Continuing to send emails while blacklisted will worsen your situation and make removal more difficult.
- Pause all automated campaigns
- Stop transactional emails if possible (or route through alternative IPs)
- Inform your team about the sending freeze
Identify Which Blacklists You're On
Use blacklist checking tools to identify exactly where you're listed.
Recommended Tools:
- MXToolbox: Comprehensive blacklist monitoring
- Spamhaus: Check their specific blocklists
- Mail-score.com: Includes blacklist status in deliverability reports
- MultiRBL.valli.org: Checks multiple blacklists simultaneously
Document Your Findings
Create a detailed record of your blacklist status for reference during the removal process.
- List each blacklist you appear on
- Note the listing reason if provided
- Record the date you discovered the listing
- Document any error messages from bounced emails
Step 2: Identify the Root Cause
Blacklisting doesn't happen without reason. Identifying and addressing the underlying issue is crucial for successful removal and preventing future listings.
Common Causes of Blacklisting
- High spam complaint rates (recipients marking emails as spam)
- Sending to spam trap addresses (indicating poor list acquisition)
- High bounce rates (sending to invalid addresses)
- Compromised accounts or systems (sending malware or phishing emails)
- Sudden volume spikes (appearing like botnet activity)
- Poor authentication setup (missing SPF, DKIM, DMARC)
Investigation Tools & Methods
- Check spam complaint rates in your ESP dashboard
- Analyze bounce reports for patterns
- Review recent list acquisitions or imports
- Scan systems for malware or security breaches
- Test authentication with mail-score.com
- Examine email headers for suspicious activity
Critical Investigation Questions:
- Did you recently import or purchase an email list?
- Have there been any security incidents or compromised accounts?
- Did you change ESPs or sending infrastructure recently?
- Are your authentication records properly configured?
- What's your current spam complaint rate?
Step 3: Fix the Underlying Issues
Before requesting removal from blacklists, you must demonstrate that you've fixed the problems that caused the listing.
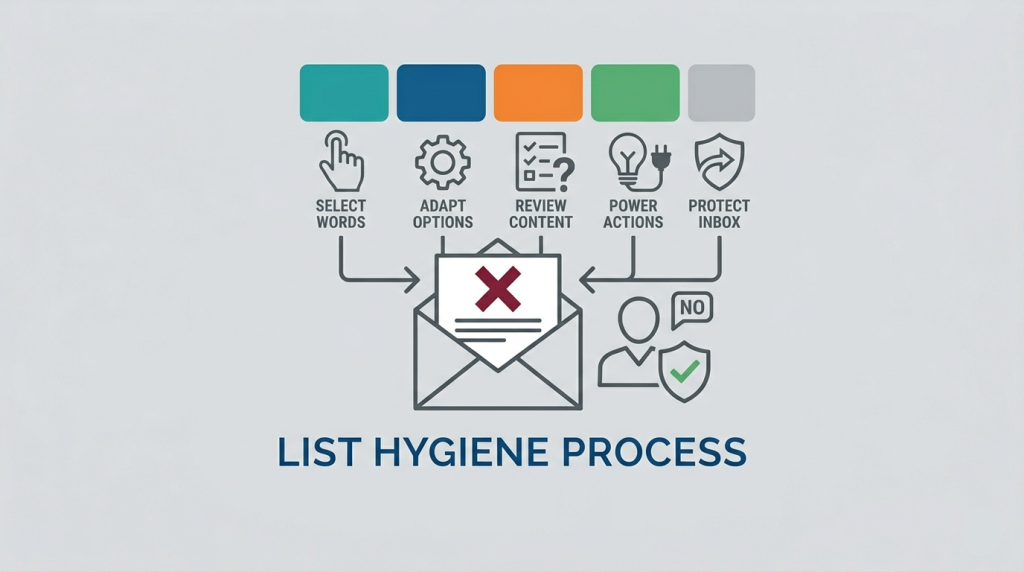
Clean Your Email List Aggressively
Remove all problematic addresses and improve list hygiene.
- Remove all hard bounces immediately
- Delete addresses that haven't engaged in 6+ months
- Identify and remove potential spam traps
- Implement double opt-in for new subscribers
- Validate your entire list with email verification services
Implement Proper Email Authentication
Ensure your technical setup meets industry standards.
- Set up SPF, DKIM, and DMARC records correctly
- Verify authentication with mail-score.com
- Ensure reverse DNS (PTR records) are properly configured
- Check that your From domain matches your authentication domain
Address Security Issues
Eliminate any security vulnerabilities that caused the listing.
- Scan all systems for malware and viruses
- Change passwords for all email accounts
- Review access logs for suspicious activity
- Implement two-factor authentication where possible
- Update and patch all software systems
Improve Sending Practices
Establish patterns that demonstrate responsible sending.
- Develop a consistent sending schedule
- Avoid sudden volume increases
- Segment your list for targeted content
- Monitor engagement metrics closely
- Make unsubscribe processes easy and immediate
Step 4: Request Removal from Blacklists
Each blacklist has its own removal process. Follow these specific procedures for major blacklists.
Spamhaus Removal Process
Impact: High - Spamhaus is widely used by major ISPs
- Visit Spamhaus Lookup Tool to confirm your listing
- Check which specific Spamhaus list you're on (PBL, SBL, XBL, etc.)
- Follow the specific removal process for that list
- For SBL listings, you may need to contact your ISP first
- Provide evidence that you've fixed the underlying issues
- Wait 24-48 hours for processing
SpamCop Removal Process
Impact: Medium - Used by some ISPs and corporate filters
- Check your status at SpamCop Blocking List
- If listed, use their automated removal tool
- For persistent listings, you may need to contact their support
- Demonstrate that spam sources have been eliminated
- Removal is typically quick if the issue is resolved
Barracuda Removal Process
Impact: Medium - Used by Barracuda spam filter customers
- Visit Barracuda Central Lookup
- If listed, submit a removal request through their portal
- Provide details about how you resolved the issues
- Include evidence of improved sending practices
- Processing typically takes 1-3 business days
SURBL Removal Process
Impact: Medium - Focuses on domains with spammy content
- Check domain status at SURBL Analysis Tool
- Remove any malicious content from your website
- Scan for and eliminate any compromised pages
- Submit a removal request through their website
- Provide details of the cleanup actions taken
General Removal Request Tips:
- Be polite and professional in all communications
- Provide specific details about the fixes you've implemented
- Include evidence such as authentication records or policy changes
- Be patient - processing times vary by blacklist
- Follow up appropriately if you don't hear back within the stated timeframe
Step 5: Monitor and Prevent Future Listings
After successful removal, implement ongoing monitoring to prevent future blacklisting incidents.
Ongoing Monitoring
- Set up automated blacklist monitoring alerts
- Regularly check your status with mail-score.com
- Monitor spam complaint rates weekly
- Track bounce rates and list hygiene metrics
- Use Google Postmaster Tools for Gmail-specific insights
Prevention Strategies
- Implement strict list acquisition policies
- Maintain excellent email authentication
- Regularly clean and update your email list
- Monitor sending patterns for anomalies
- Educate your team about email best practices
Quick Checks
Monitor bounce and complaint rates
Detailed Review
Check blacklist status and engagement metrics
Comprehensive Audit
Full deliverability testing and list cleaning
Expected Recovery Timeline
Days 1-2: Immediate Response
Identify blacklists, stop sending, begin investigation. Most critical phase for limiting damage.
Days 3-5: Fix Underlying Issues
Clean lists, fix authentication, address security issues. Prepare removal requests.
Days 6-10: Removal Processing
Submit removal requests, follow up as needed. Most blacklists process within 2-3 days.
Days 11-30: Gradual Recovery
Slowly resume sending with close monitoring. Deliverability may take time to fully recover.
Important Note About Recovery:
Even after successful blacklist removal, some email providers may maintain internal reputation systems that take longer to recover. Continue monitoring deliverability closely during the recovery period.
Emergency Contact Information
| Blacklist | Removal URL | Processing Time | Priority |
|---|---|---|---|
| Spamhaus | spamhaus.org/lookup | 24-48 hours | High |
| SpamCop | spamcop.net/bl.shtml | 24 hours | High |
| Barracuda | barracudacentral.org | 1-3 days | Medium |
| SURBL | surbl.org | 2-4 days | Medium |
| URIBL | uribl.com | 1-2 days | Medium |
Step 6: Test Deliverability After Removal
After successful blacklist removal, thoroughly test your deliverability before resuming normal sending volumes.
Initial Testing Phase
Start with small, controlled sends to verify deliverability.
- Send to a small segment of highly engaged subscribers
- Test with mail-score.com to verify authentication and content
- Monitor placement across different email providers
- Check that emails aren't being filtered to spam
- Verify that all authentication is working correctly
Gradual Volume Increase
Slowly ramp up sending volume while monitoring closely.
- Increase volume by 20-30% daily if engagement remains high
- Continue monitoring blacklist status throughout
- Watch for any changes in deliverability metrics
- Be prepared to scale back if issues reappear
- Maintain excellent engagement rates during recovery
Pro Tip: Use mail-score.com testing throughout your recovery process. It provides comprehensive deliverability insights that help you verify that your fixes are working and identify any remaining issues.
Conclusion: Staying Off Blacklists
Successfully removing your IP or domain from blacklists is just the beginning. The key to long-term email deliverability is implementing ongoing practices that prevent future listings.
Focus on maintaining excellent list hygiene, proper authentication, and responsible sending practices. Regular monitoring with tools like mail-score.com will help you catch potential issues before they lead to blacklisting.
Final Recommendation: Make blacklist monitoring part of your regular email workflow. Early detection makes resolution much easier and minimizes deliverability impact.